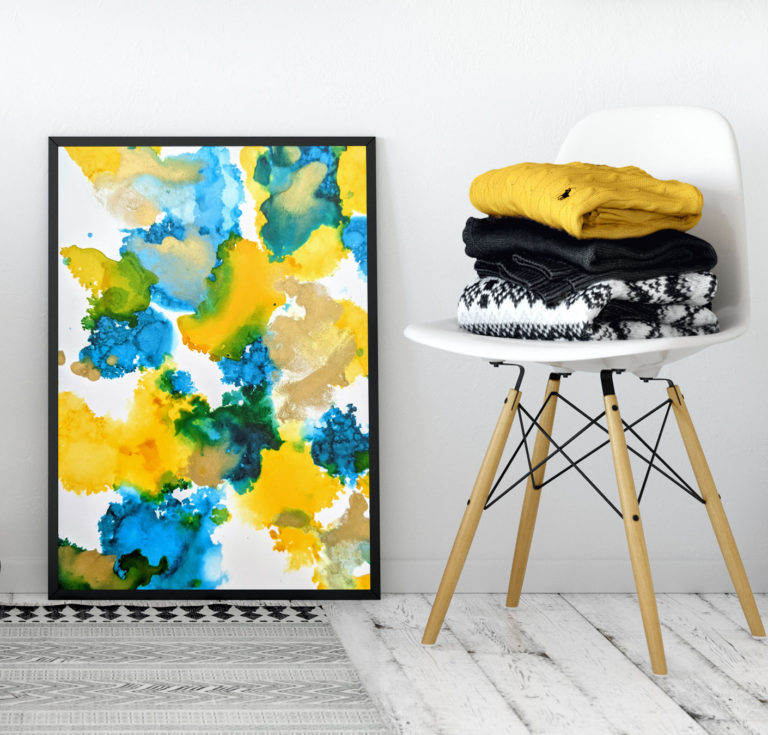
The first time I tried alcohol inks I was instantly hooked. It’s so easy to make beautiful pieces with very little time and effort. You can use this technique to make coasters, trivets, wall art, backgrounds, and more. In this step by step guide we will walk through what materials you will need and how to create beautiful patterns using alcohol inks. This is a fun DIY project for both adults and children because it’s so simple to create stunning patterns even if you’re a complete beginner. It’s also incredibly therapeutic to watch how the colors move and blend together!
What you will need:
- Alcohol inks. I used this alcohol ink kit by Ranger Tim Holtz that comes with inks, paper, stamps and a stamp pad. These extra accessories are fun but not required for getting started.
- Glossy/photo paper or any glossy non-porous surface e.g ceramic tiles
- Rubbing alcohol or blending solution
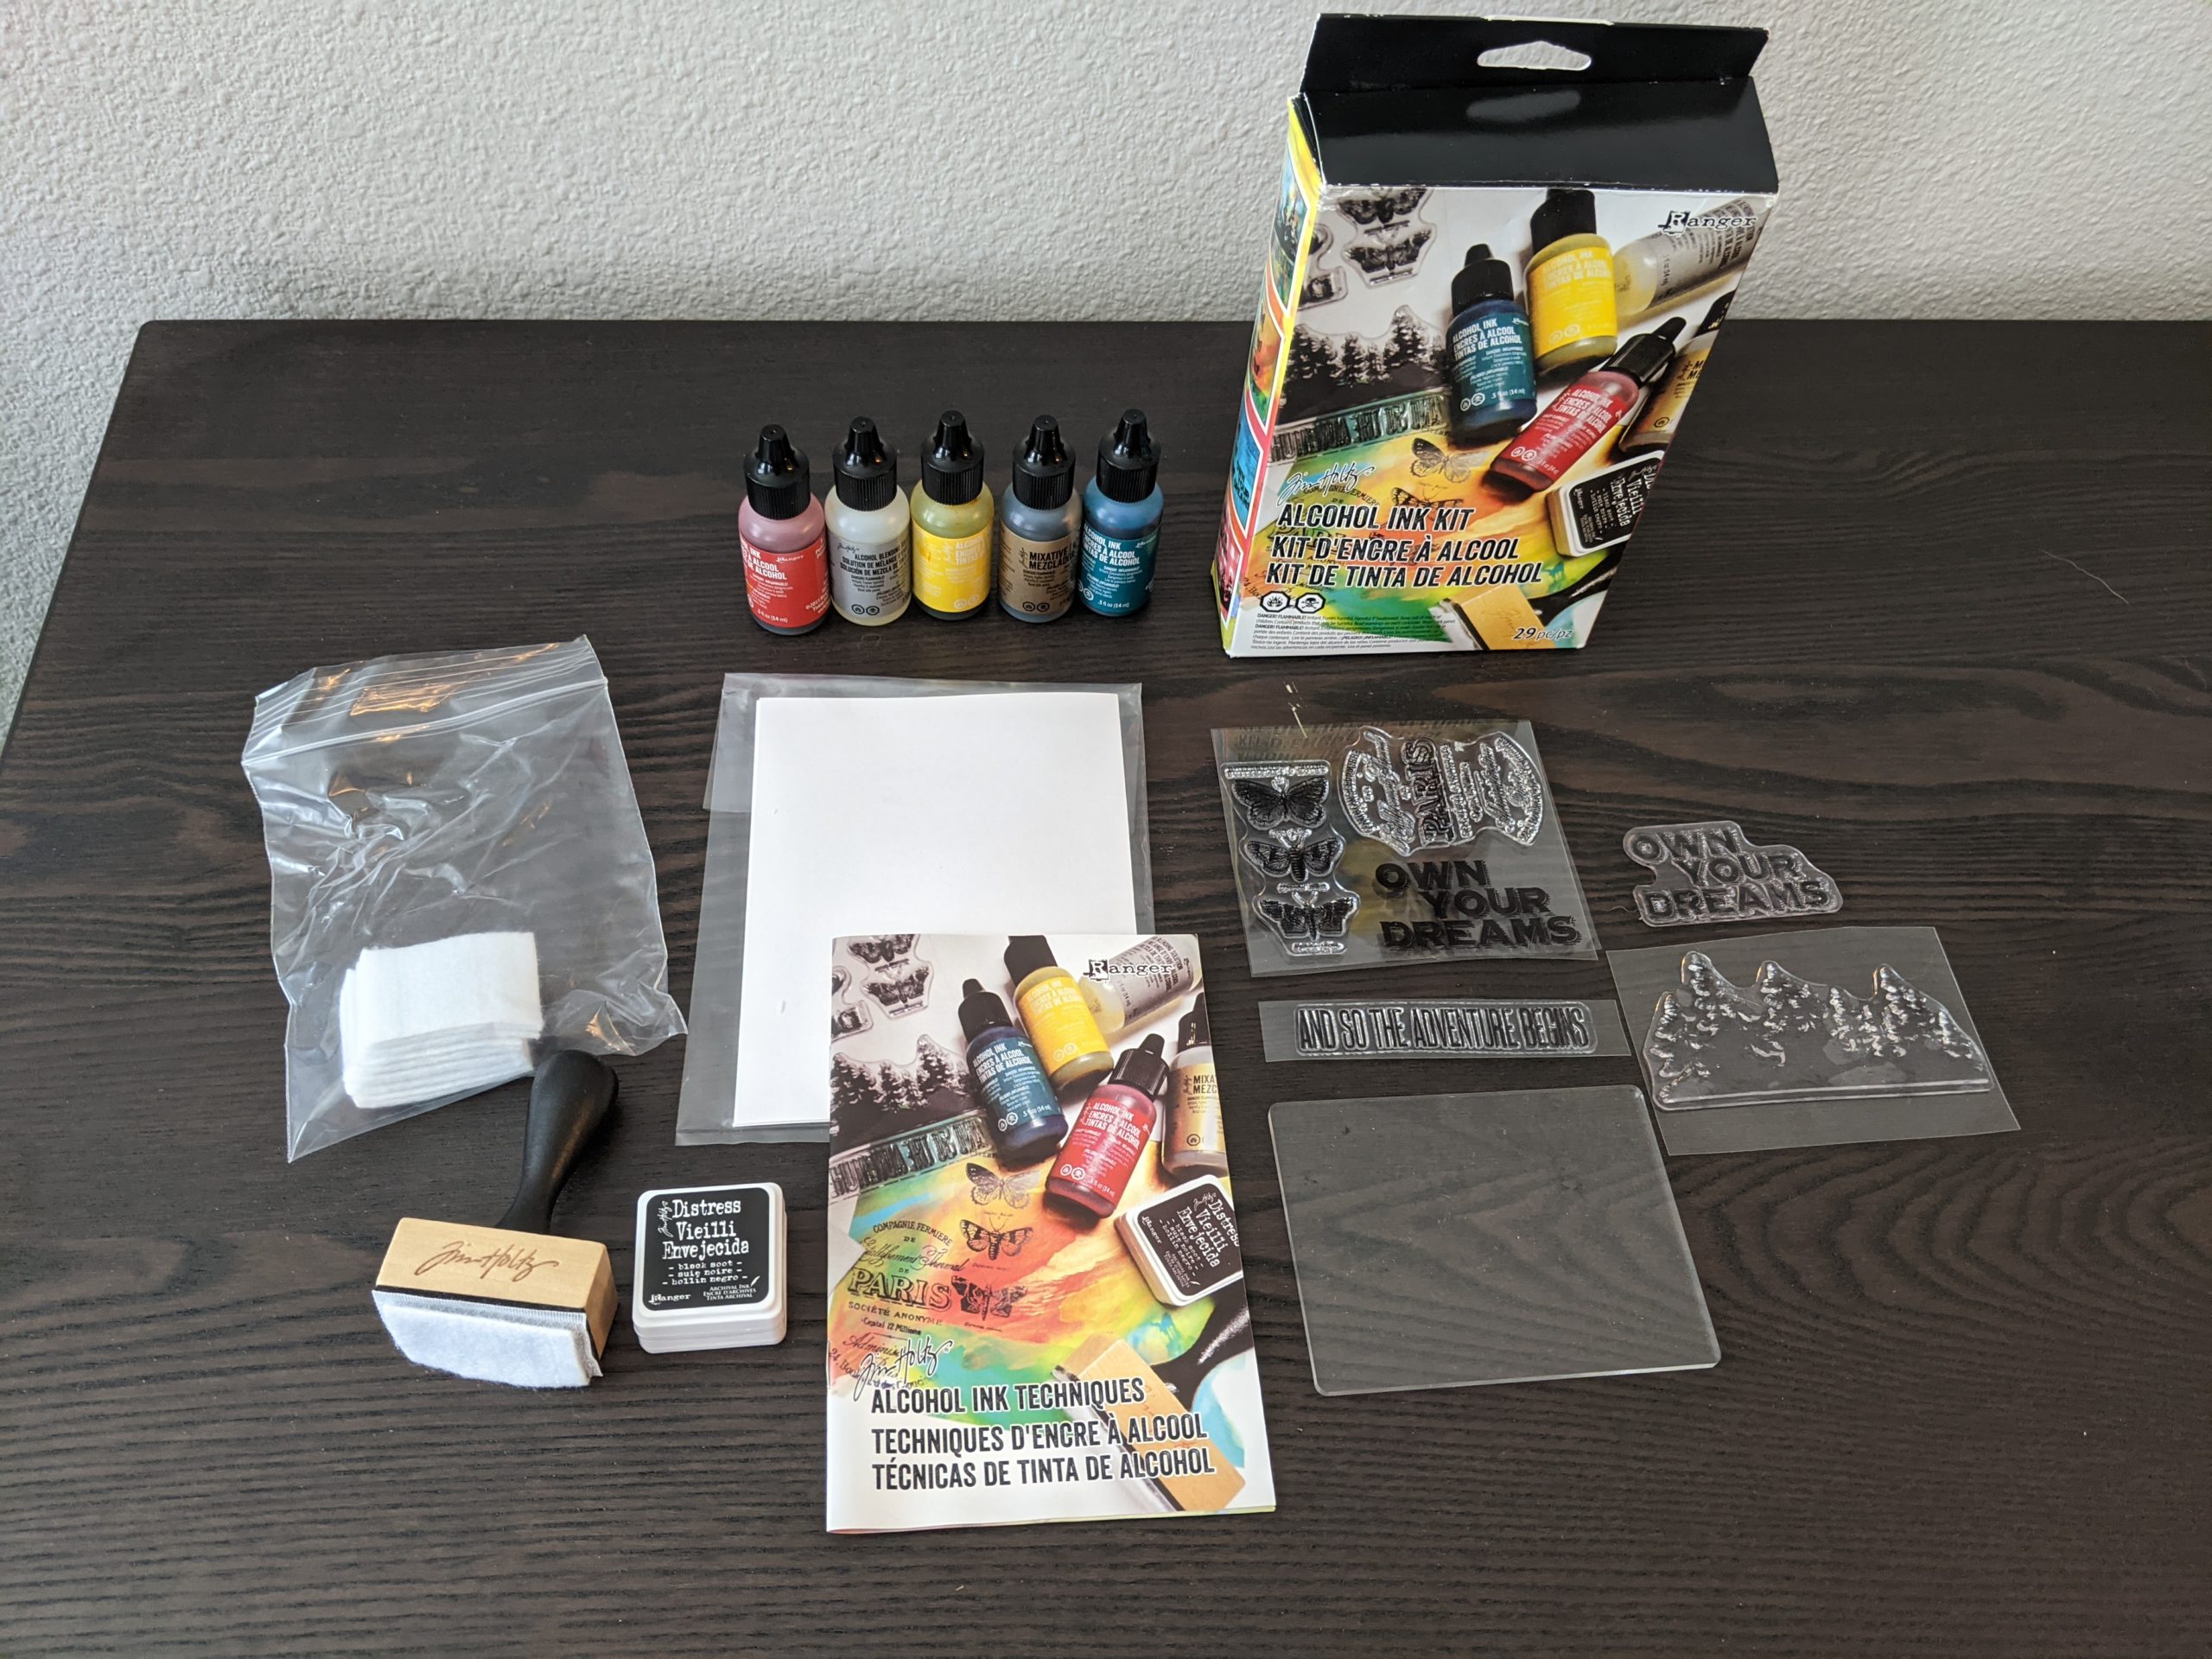
How to use alcohol inks
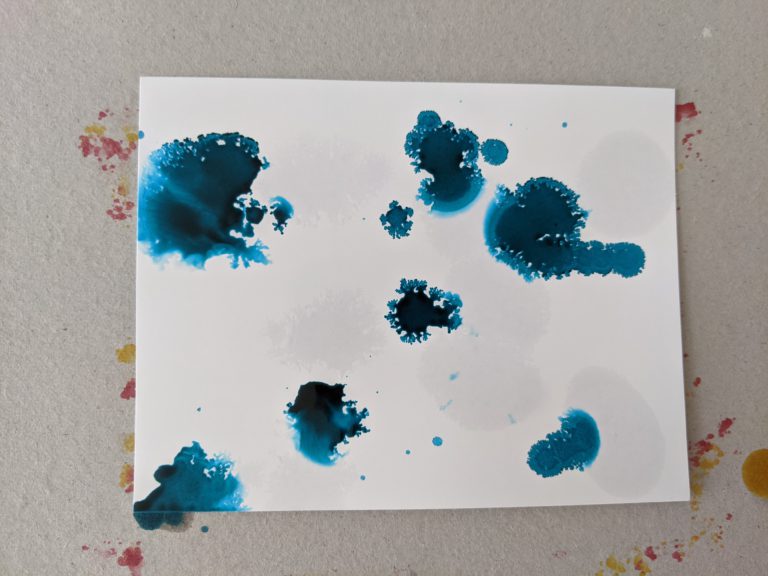
Onto your photo paper (or ceramic tile), add a few drops of blending solution. If you don’t have blending solution you can substitute it with some rubbing alcohol.
Next add a few drops of alcohol ink. It will naturally spread out, especially the drops that mix with the spots that have the blending solution.
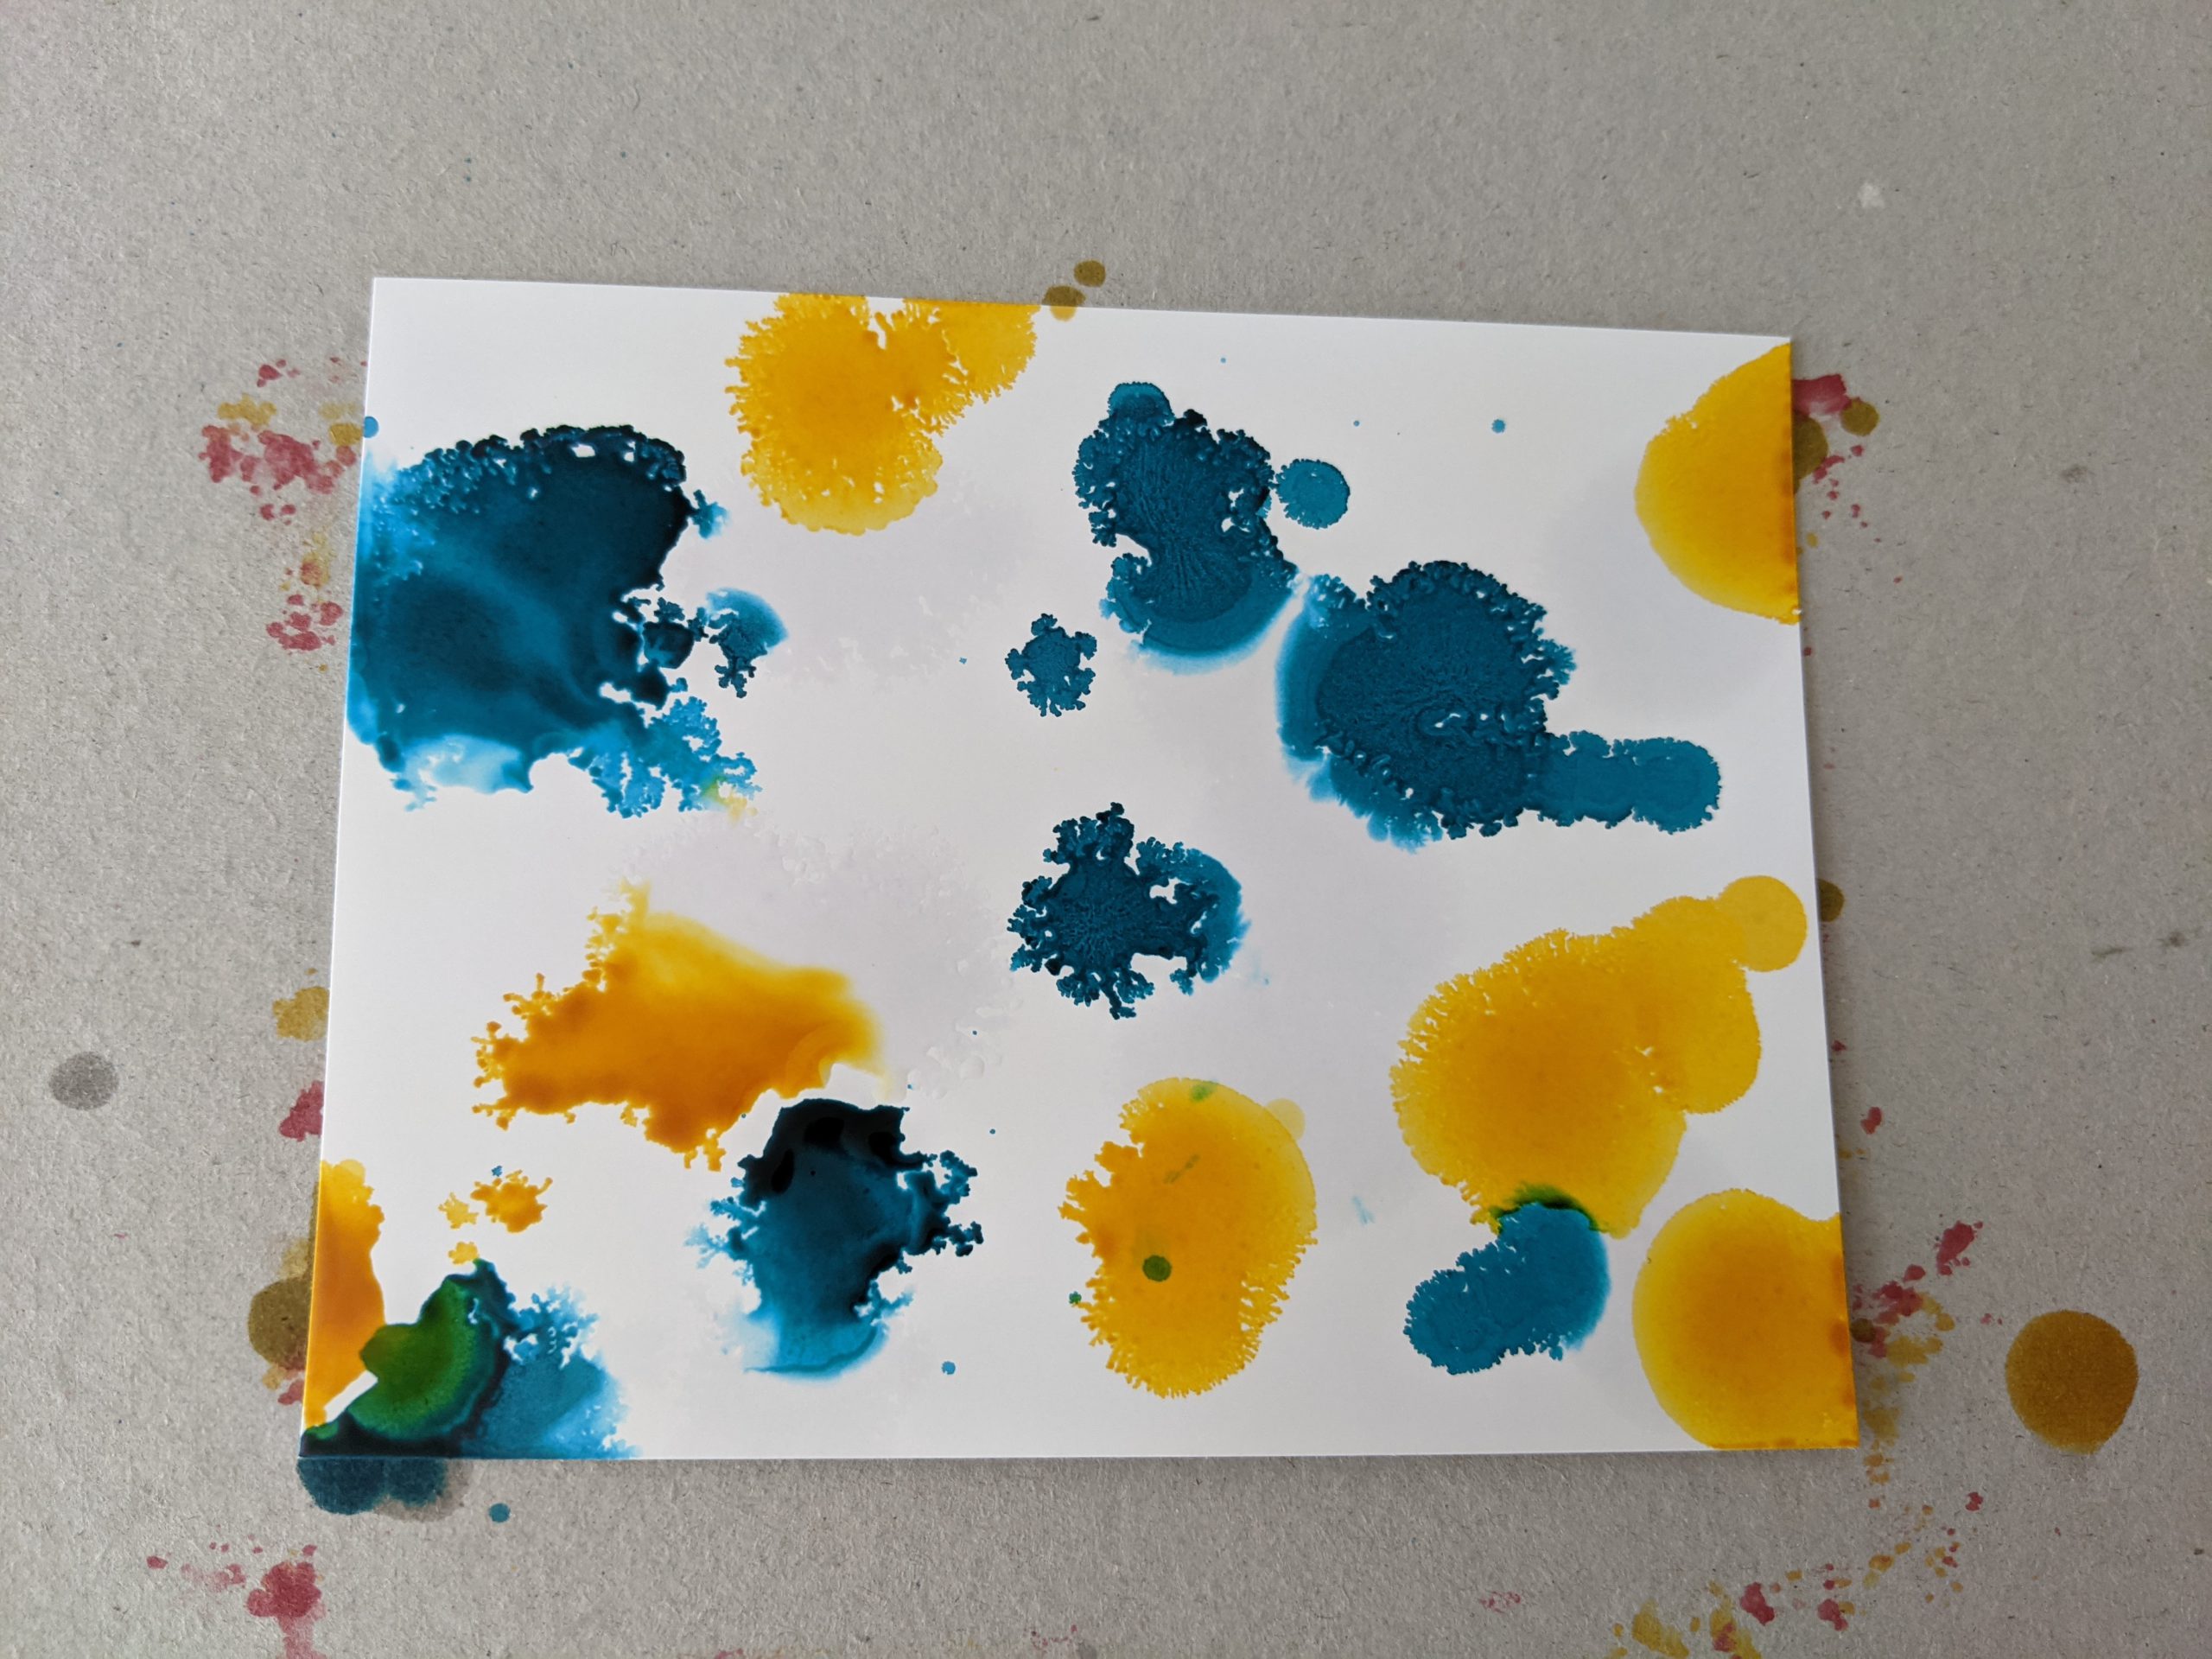
Next add a few more drops of alcohol ink of a different color. Depending on the colors you’re using, it’s often good not to add too much ink so that some blank areas remain.
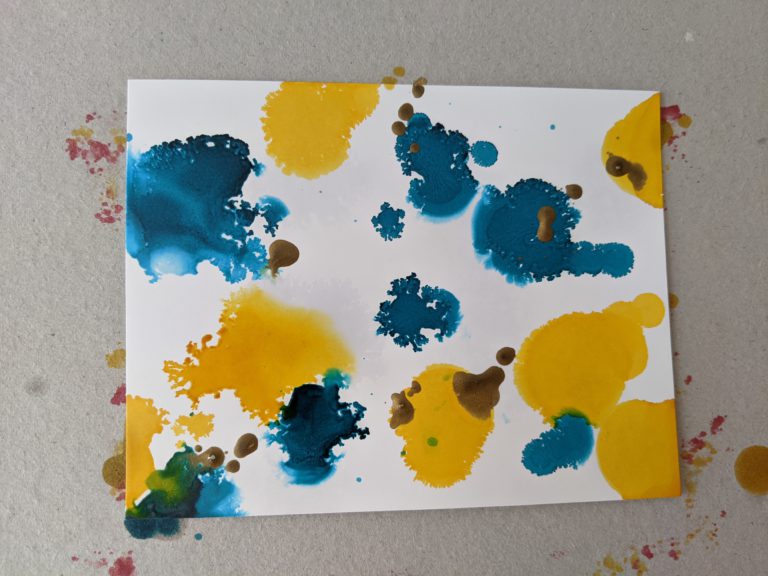
Continue adding more drops of ink to your heart’s content! In this one I addded a few drops of metallic ink that came with the kit.
If you want the ink drops to mix together more, you can always add a few drops of blending solution/alcohol.
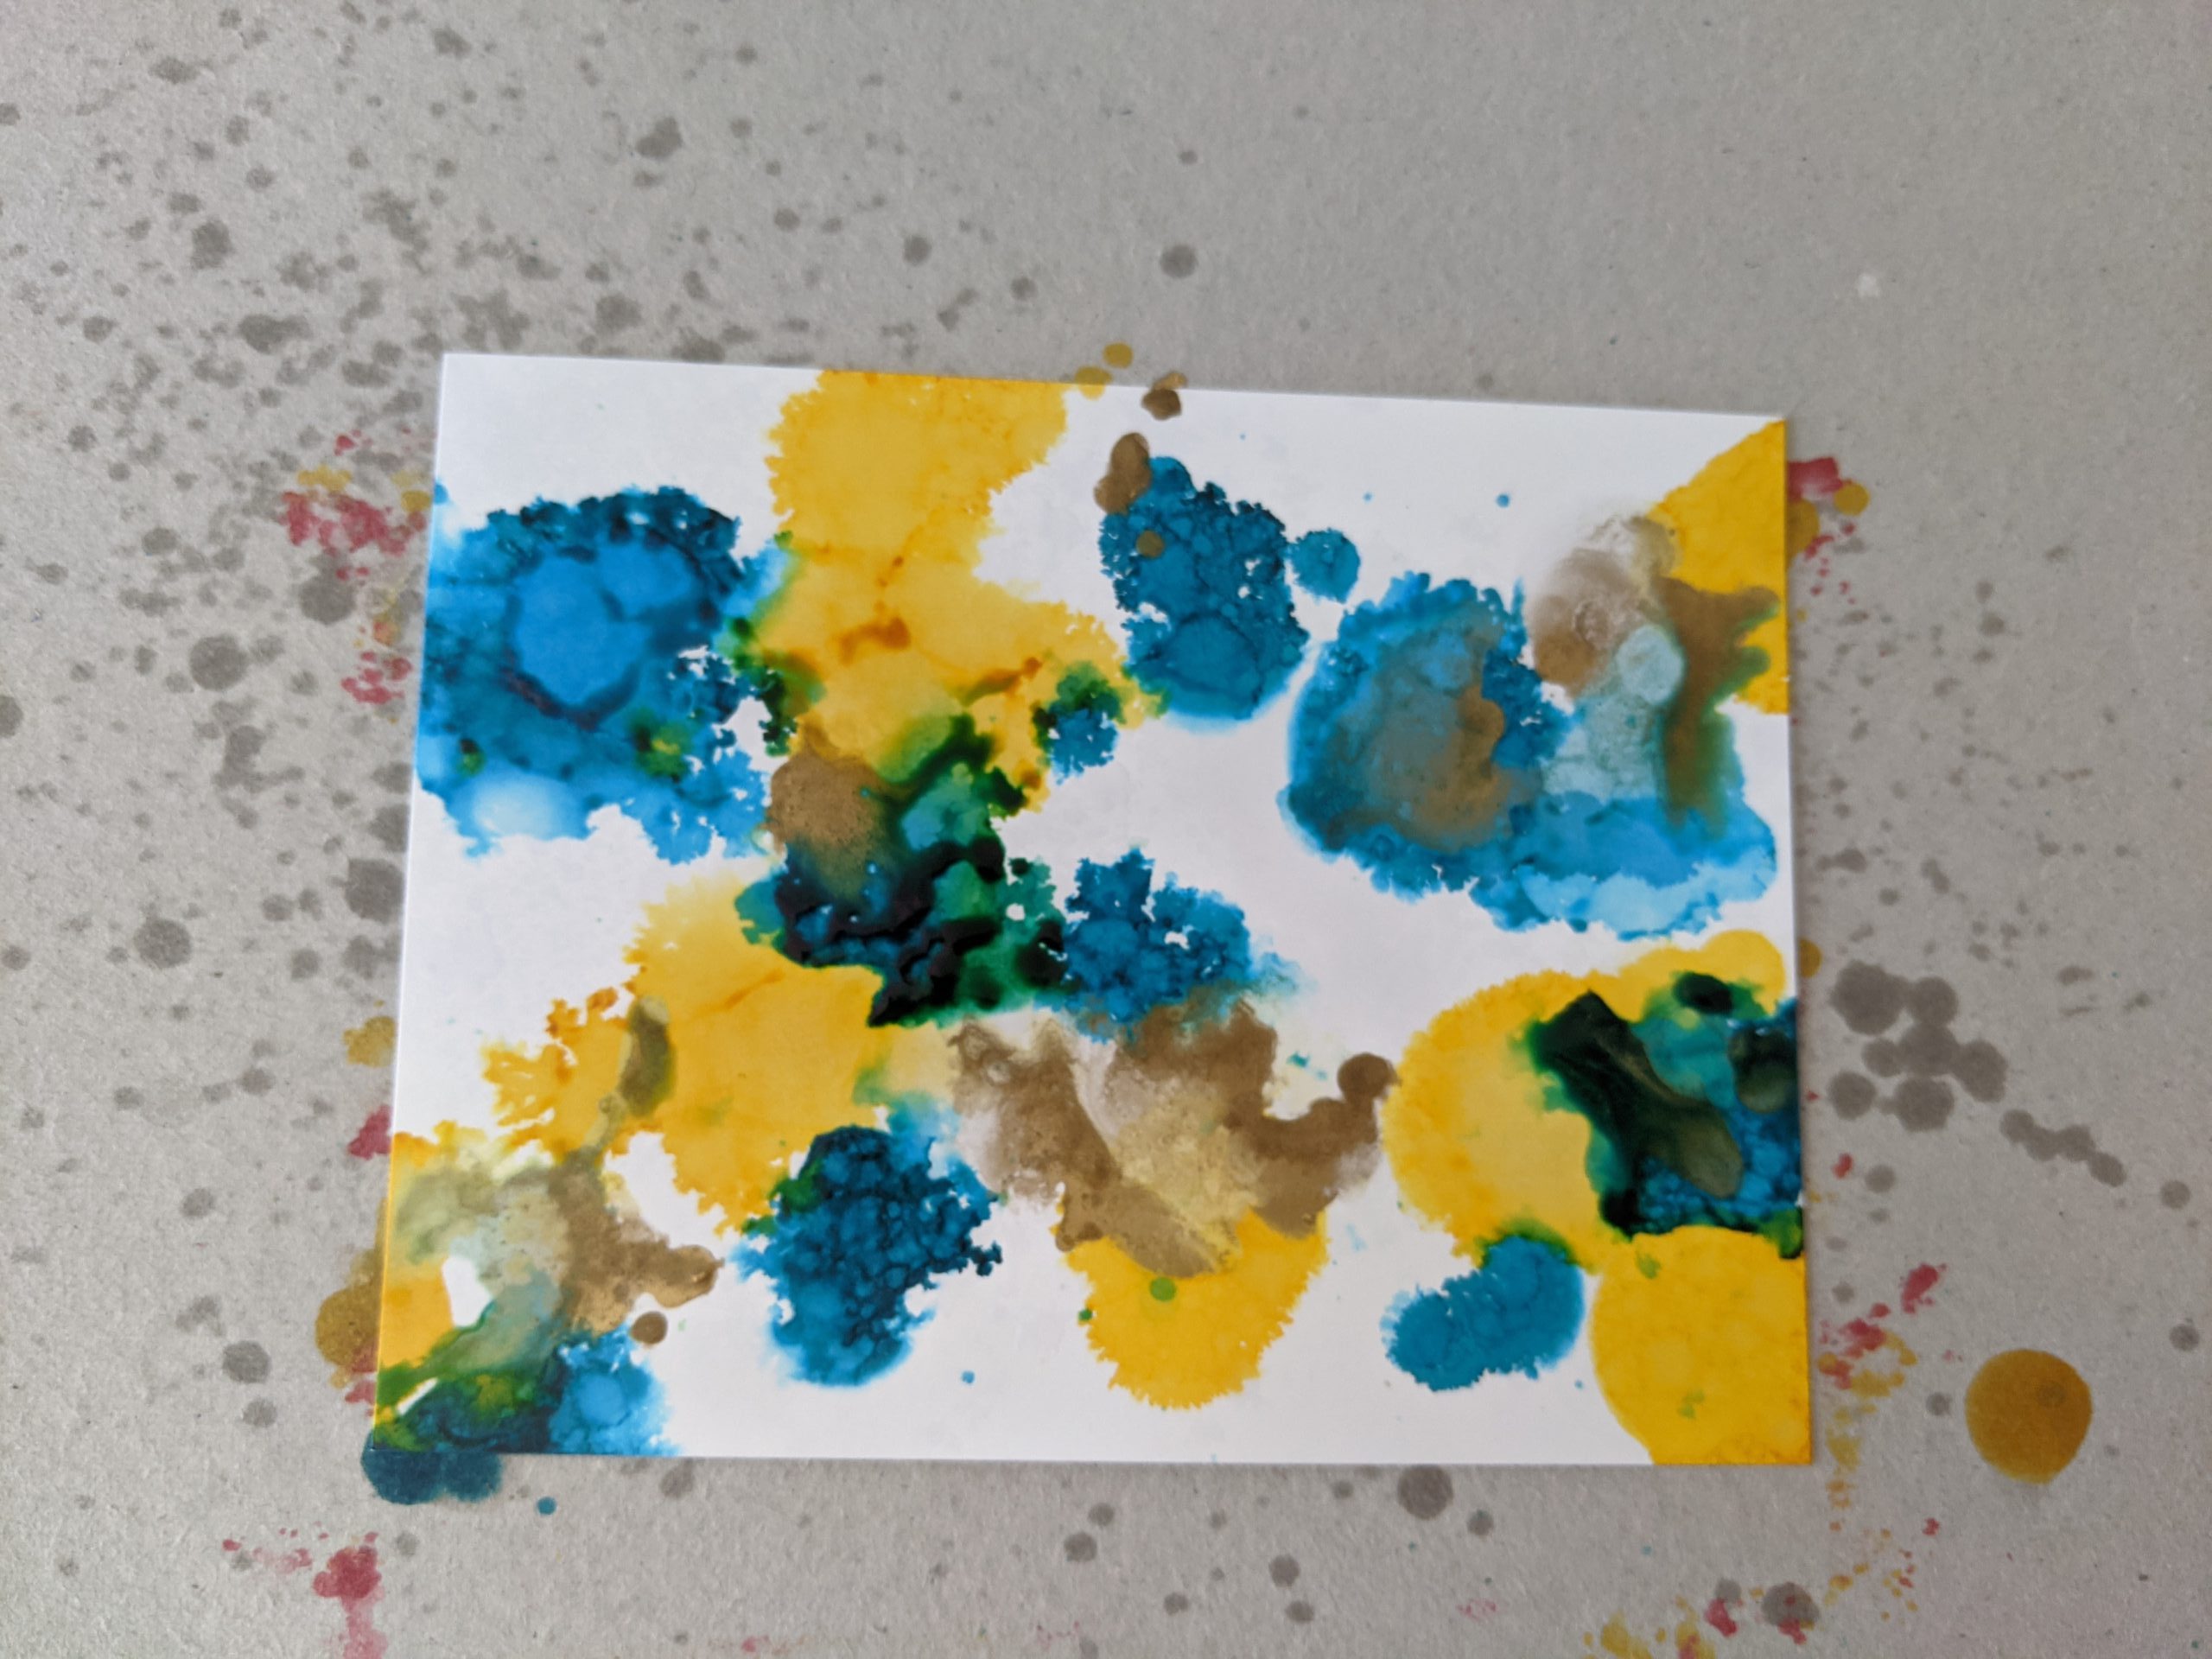
If you want to create some texture, use some rubbing alcohol in a spray bottle and give it one light spray from above, about 2 feet away.
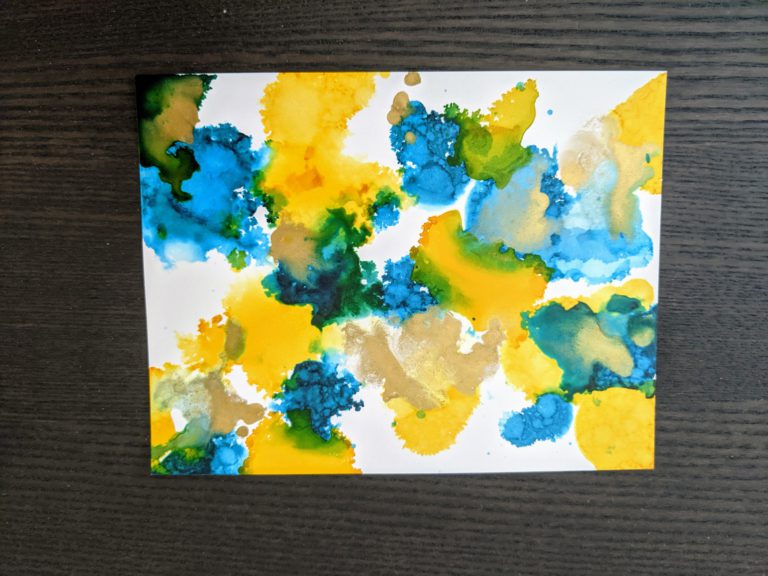
Be sure to let it air-dry completely once you’re done. Because the inks are alcohol-based, they tend to dry pretty quickly.
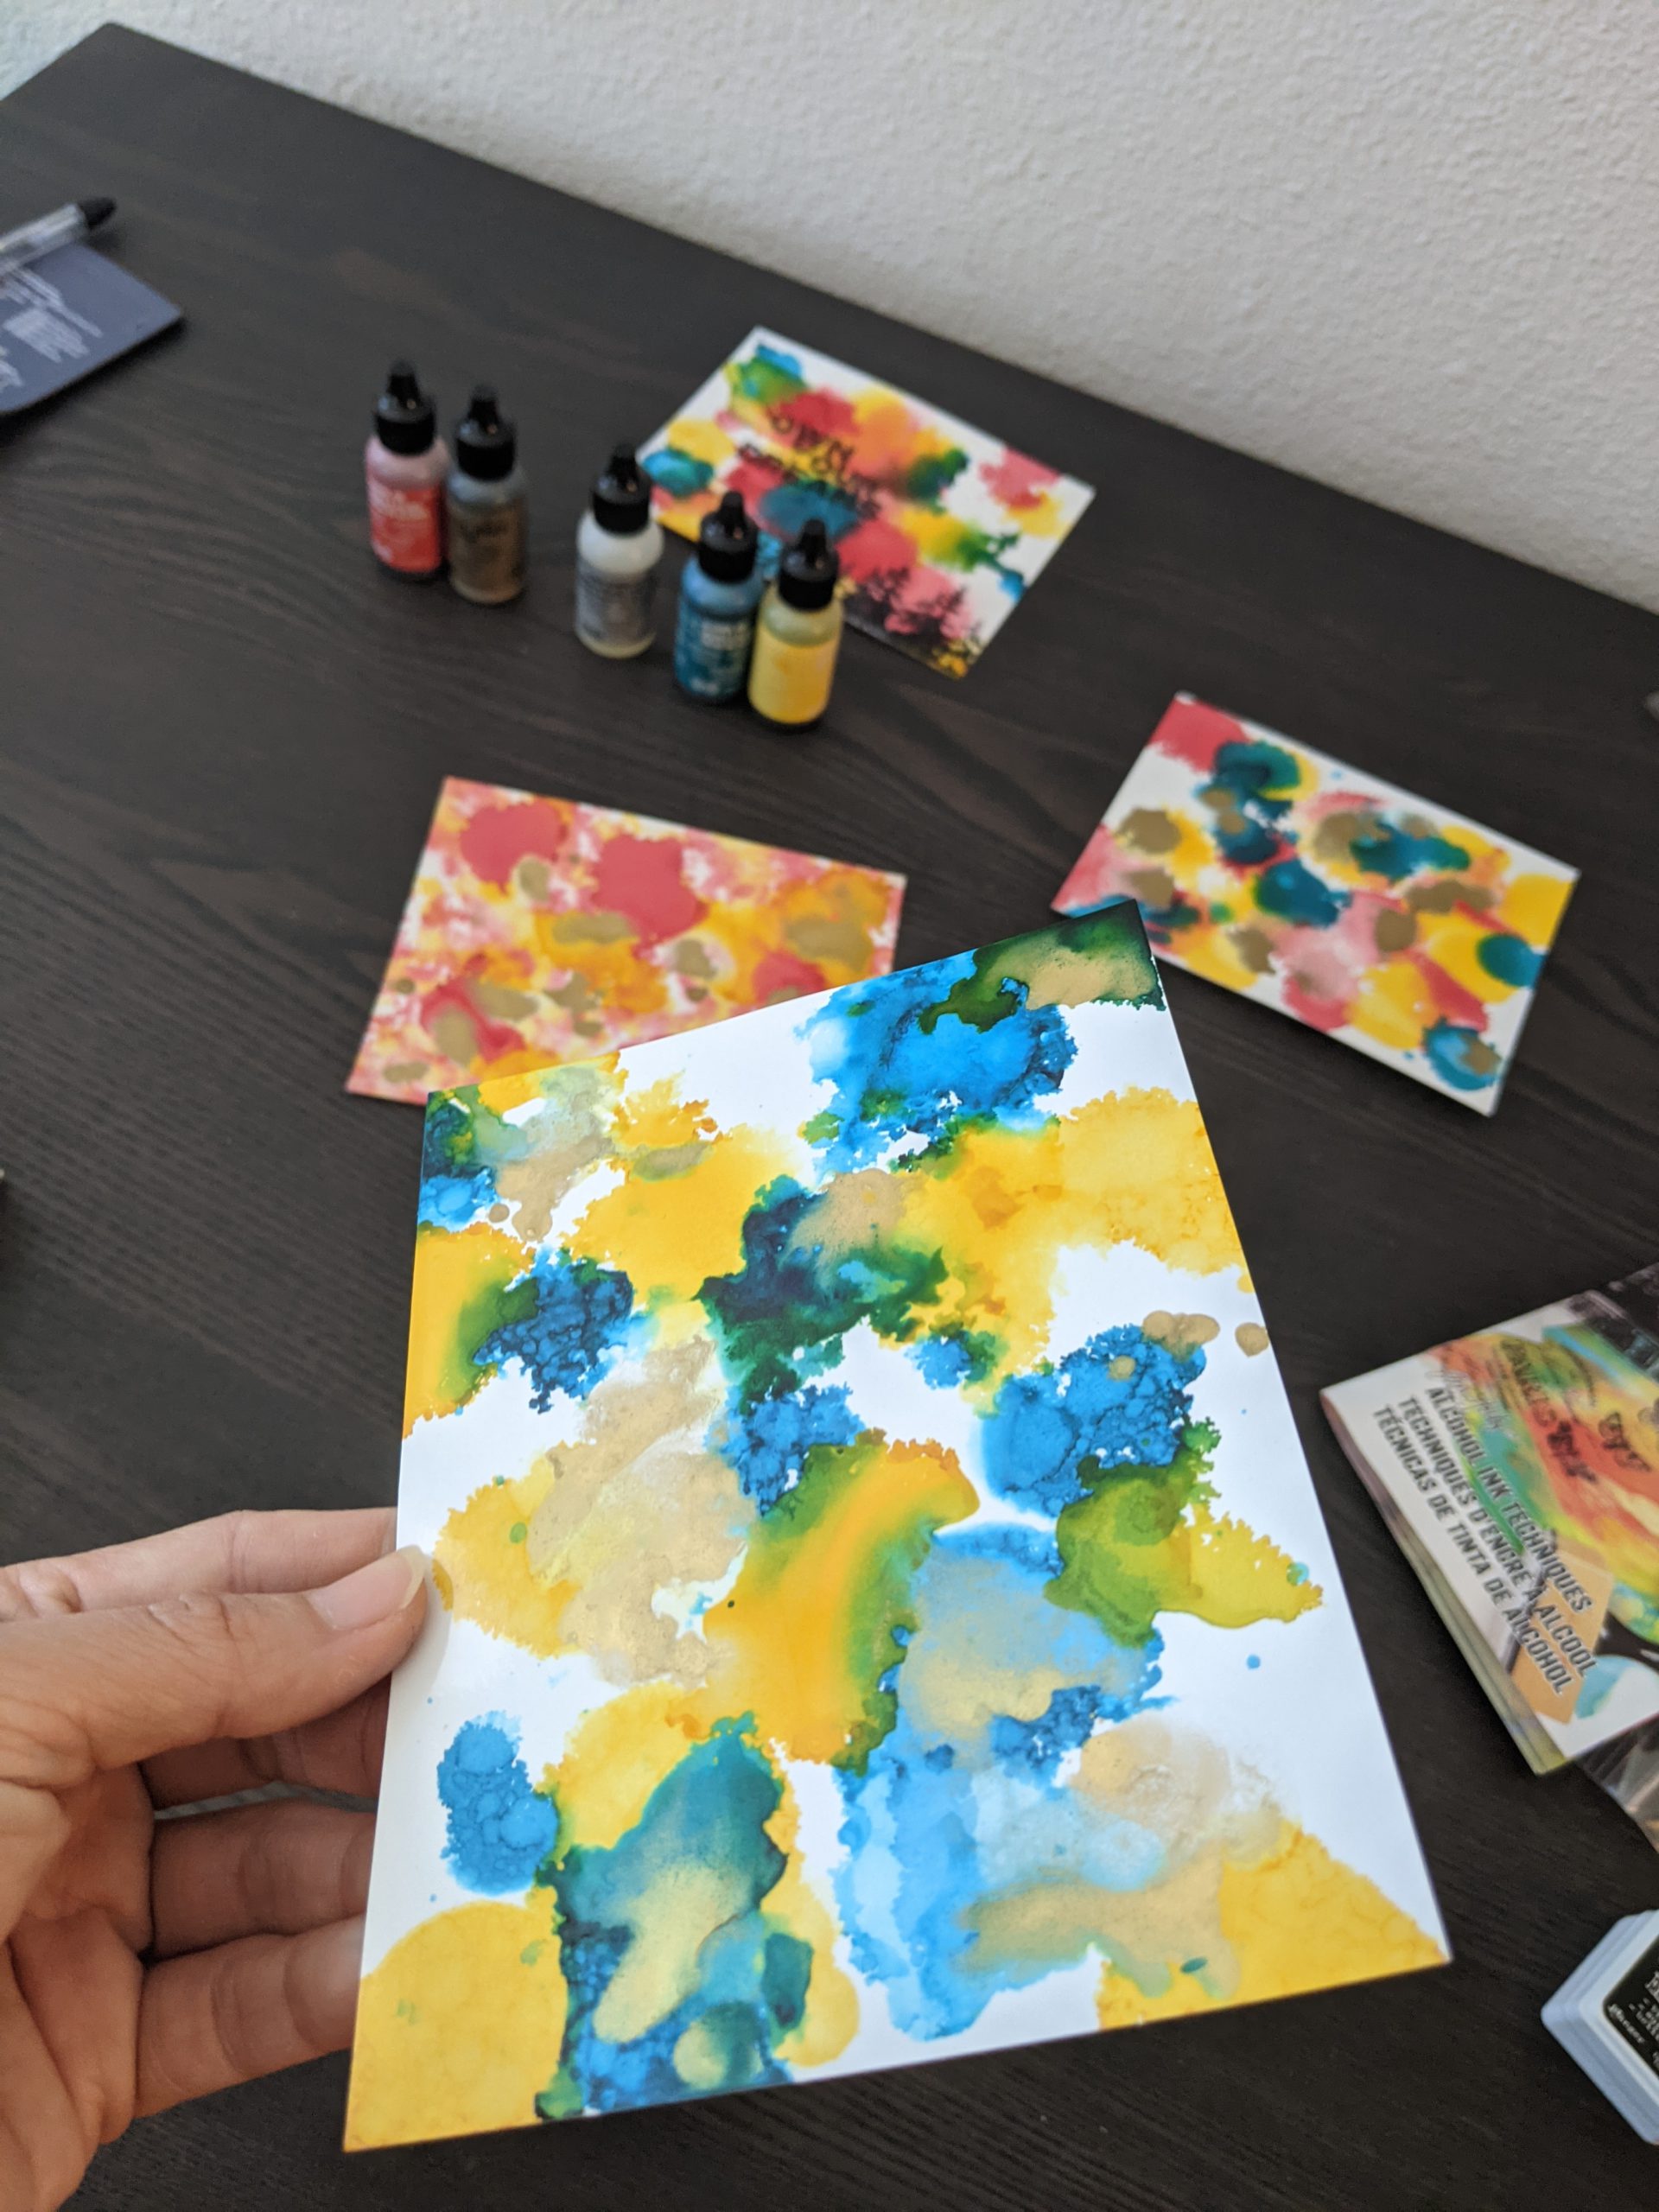
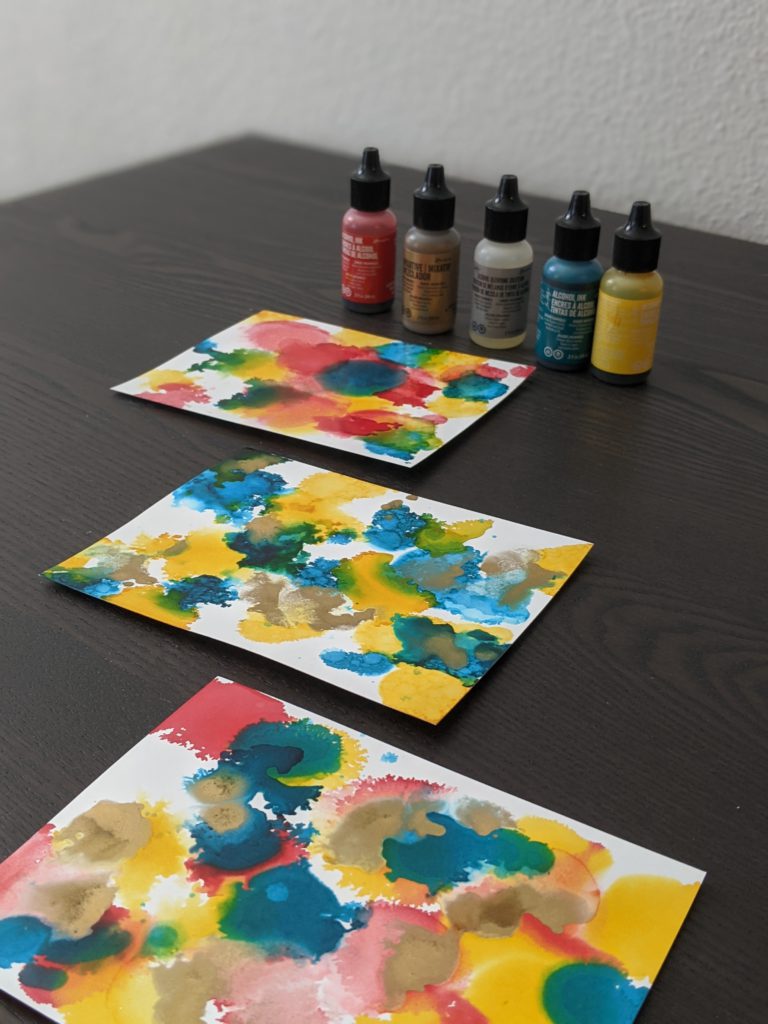
The important thing is to have fun with the process! Each piece will have its own unique colors and patterns.
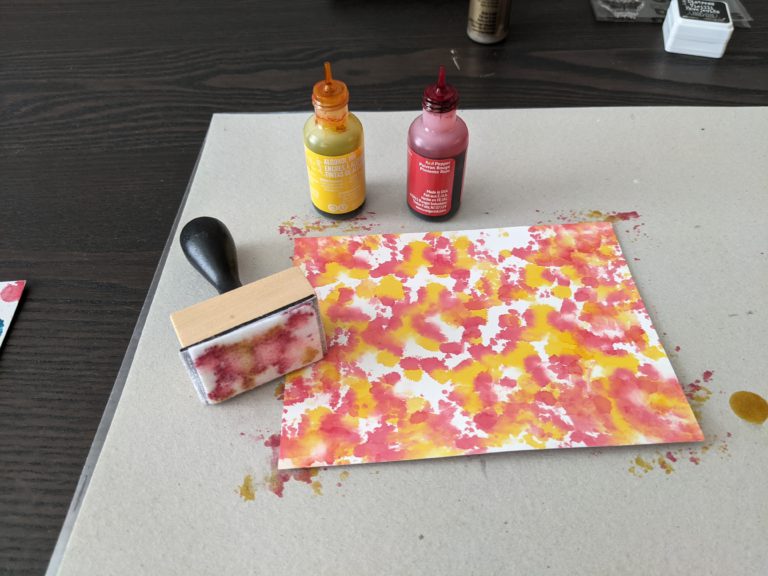
Another technique you can use is to put a few drops of ink onto a piece of cotton and dab it on the paper to create different patterns. If you want the colors to bleed into each other, you can also add a few drops of blending solution.
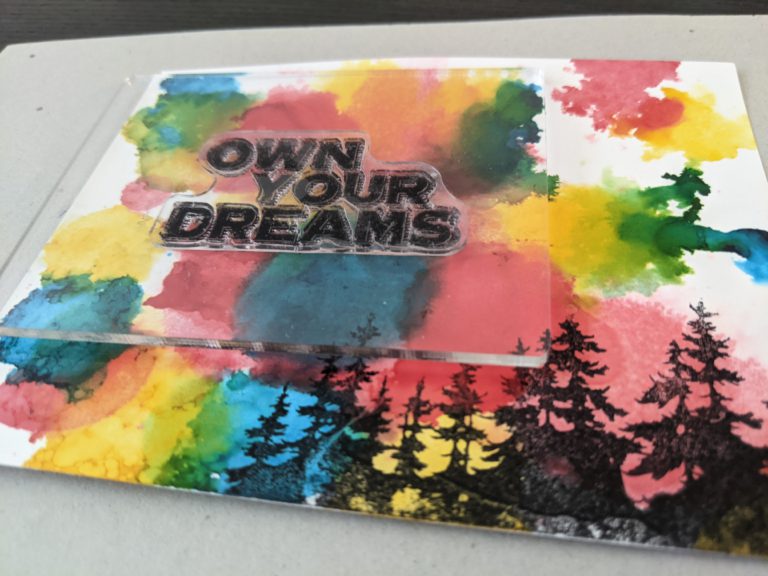
Once a piece is completely dry, if you want you can further build onto it by using stamps and some distressed ink. In this example, I just used the stamps and ink pad included in the kit.
Alcohol Inks on Ceramic Tiles
The process for using alcohol ink on ceramic tiles is almost the same as for doing it on glossy paper as outlined in the previous section.
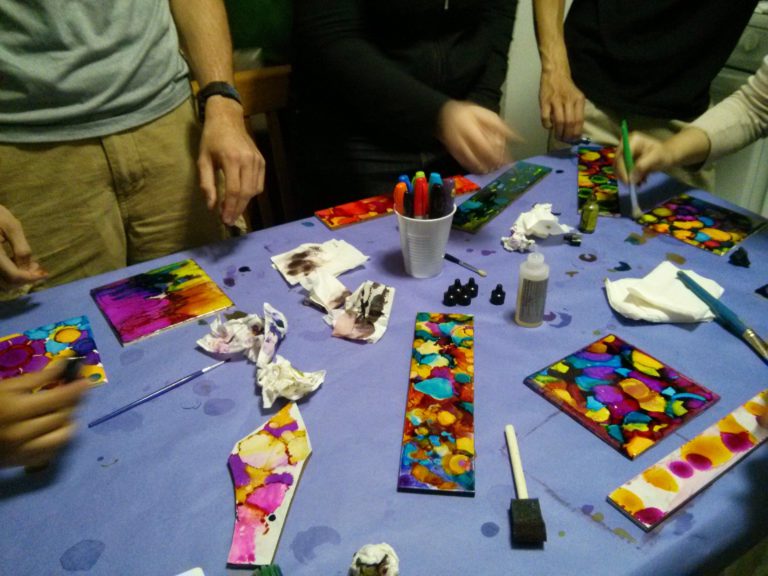
Simply lay down a few drops of ink onto your tile and move it around as desired. Because tiles tend to be more glossy, the ink may move around more so it’s best to start with fewer drops at first and then add more as needed. You can also add drops of blending solution to help the ink spread around.
The great thing about alcohol ink on tiles is that if you’re not satisfied with how yours turned out, simply spray some alcohol onto a paper towel and wipe your tile clean to start over!
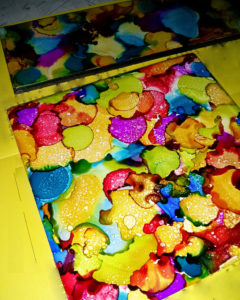
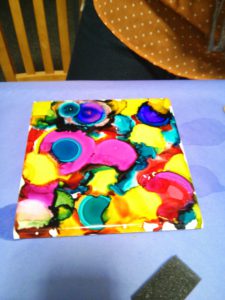
Once you are satisfied with your end product and it has dried completely, you can spray it with a light coat of protectant spray to help your design last longer. Be careful not to spray too much as it could smudge the inks.